We have created two tutorials especially to accompany the starterskit.
One tutorial uses the starterkit in combination with an Arduino Uno micro controller, whereas the second one uses the Teensy 3.2 micro-controller.
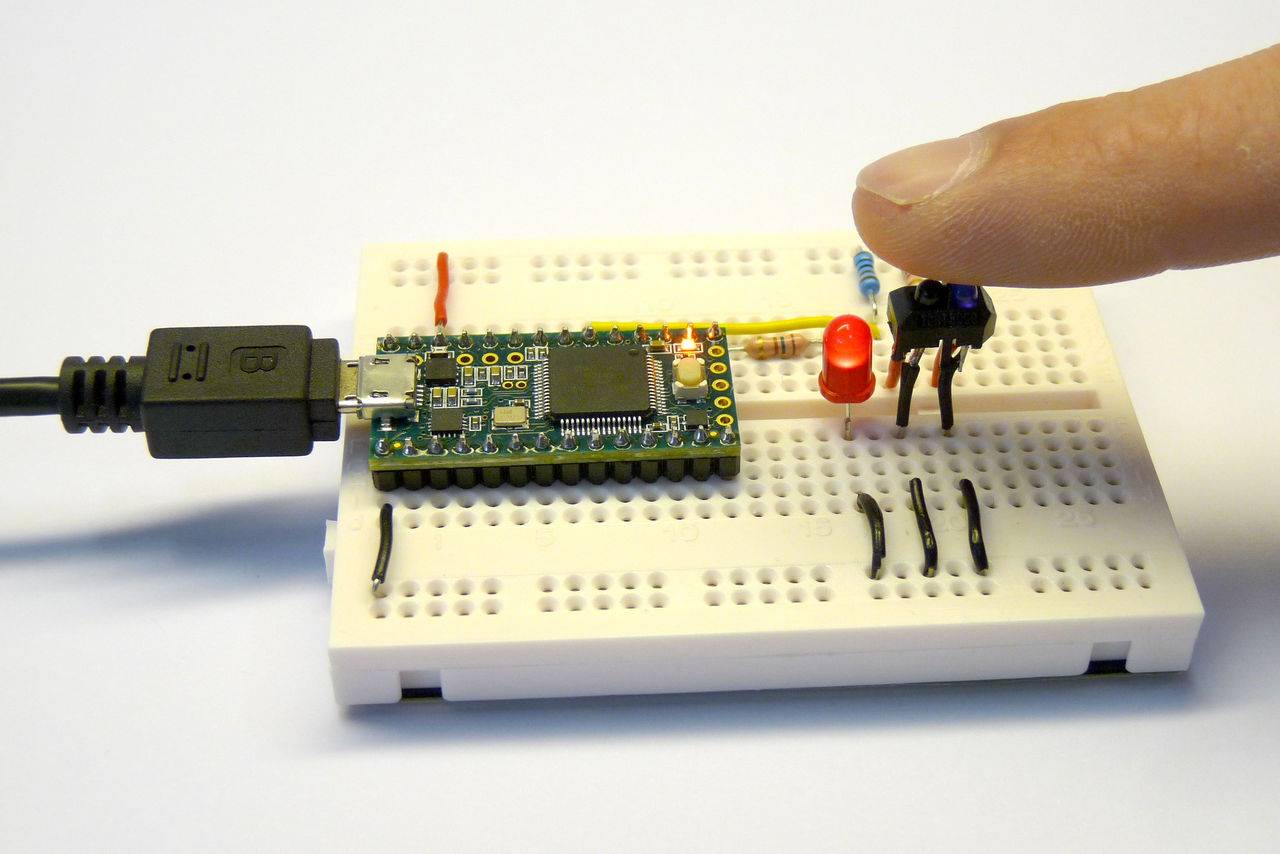
Both micro-controllers can be programmed through the Arduino IDE (Integrated Development Environment). The open-source Arduino IDE makes it easy to write code and upload it to the board. It runs on Windows, Mac OS X, and Linux. For the Teensy you will need an additional add-on which can also be downloaded online.
Programming
Both micro-controllers can run to a large extend Arduino code as available from many sources on the internet. Because the Teensy has more built-in hardware functionality, it can do a lot more however. The Teensy is much more powerful (more memory, faster processing) compared to the Arduino Uno, but it also a bit more vulnerable in case of mistakes when connecting other components, so be extra careful.
Important hardware differences
Important to keep in mind: the Arduino Uno is a 5 V device meaning that its pins output levels are 0 V (low) and 5 V (high) where as the Teensy operates at 3.3 V. Also power ratings for the pins are different. This means that hardware designed to connect to the Arduino Uno may not work or even destroy the Teensy without modifications.
Tutorials
Get started now and experience the thrill of making an interactive device.
Below are the links to the tutorials.